Post Title

Building a deck is a fantastic way to enhance your outdoor living space, providing a perfect spot for relaxation, entertaining, and enjoying nature. Whether you're a seasoned DIY enthusiast or a beginner, this guide will walk you through the essential steps to install a beautiful and functional deck.
Step 1: Planning and Design
1.1 Determine Your Deck's Purpose:
Consider how you'll use the deck. Is it for dining, lounging, or a combination? This will influence the size, shape, and features.
1.2 Check Local Building Codes:
Before you start, research local building codes and regulations. Some areas require permits for deck construction, and there may be specific guidelines to follow.
1.3 Choose Materials:
Select materials that suit your budget and style. Common options include pressure-treated wood, cedar, redwood, and composite decking. Each material has its pros and cons in terms of cost, maintenance, and durability.
1.4 Create a Design Plan:
Sketch your deck design, including dimensions, layout, and any additional features like railings or built-in seating. This plan will serve as your blueprint.
Step 2: Preparing the Site
2.1 Mark the Deck Area:
Use stakes and string to outline the deck's perimeter. Ensure the area is level and free of obstructions.
2.2 Excavate and Level the Ground:
Remove grass and debris from the marked area. Level the ground using a shovel or a rented excavator, ensuring a stable foundation.
2.3 Install Footings:
Dig holes for the deck's footings according to your local building codes. Place concrete footings or piers in the holes to provide a solid base for the deck posts.
Step 3: Building the Frame
3.1 Install Posts:
Set the posts in the footings and secure them with concrete. Use a level to ensure the posts are plumb.
3.2 Attach Beams:
Connect the beams to the posts using metal brackets or carriage bolts. The beams will support the joists, so make sure they are level and secure.
3.3 Install Joists:
Attach the joists to the beams using joist hangers or screws. Space the joists evenly according to your design plan, typically 16 inches apart.
Step 4: Installing the Decking
4.1 Lay the Deck Boards:
Start laying the deck boards from one end, leaving a small gap between each board for drainage and expansion. Use a chalk line to ensure the boards are straight.
4.2 Secure the Boards:
Fasten the deck boards to the joists using screws or hidden fasteners. Ensure each board is secure and level before moving to the next.
4.3 Trim the Edges:
Once all the boards are in place, use a circular saw to trim any overhanging edges for a clean finish.
Step 5: Adding Railings and Stairs
5.1 Install Railings:
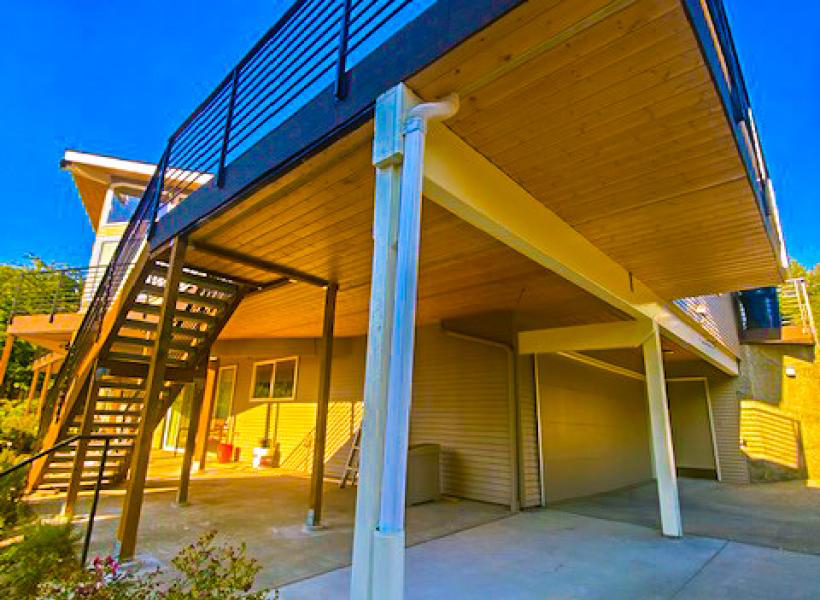
If your deck is elevated, install railings for safety. Attach the railing posts to the deck frame, then add the top and bottom rails, and finally the balusters.
5.2 Build Stairs:
If your deck requires stairs, measure and cut stringers to the appropriate length and angle. Attach the treads to the stringers, ensuring they are level and secure.
Step 6: Finishing Touches
6.1 Sand and Seal:
Sand any rough edges and apply a sealant or stain to protect the wood from weathering. This will enhance the deck's appearance and longevity.
6.2 Add Accessories:
Consider adding accessories like lighting, built-in seating, or planters to personalize your deck and make it more functional.
6.3 Inspect and Enjoy:
Conduct a thorough inspection to ensure everything is secure and up to code. Once satisfied, furnish your deck and start enjoying your new outdoor space!
Conclusion
Installing a deck can be a rewarding project that adds value to your home and provides a wonderful space for outdoor activities. By following these steps and taking the time to plan and execute your project carefully, you can create a deck that you and your family will enjoy for years to come.


